About The Author: Travis Baugh is a Digital Brand Marketing Manager for Carrier, where he develops informative, straightforward content to help homeowners better understand heating, cooling, and indoor air quality. His writing is focused on empowering homeowners to make confident, well-informed choices about their home comfort systems.
Whole House Humidifier Installation Guide & Tips
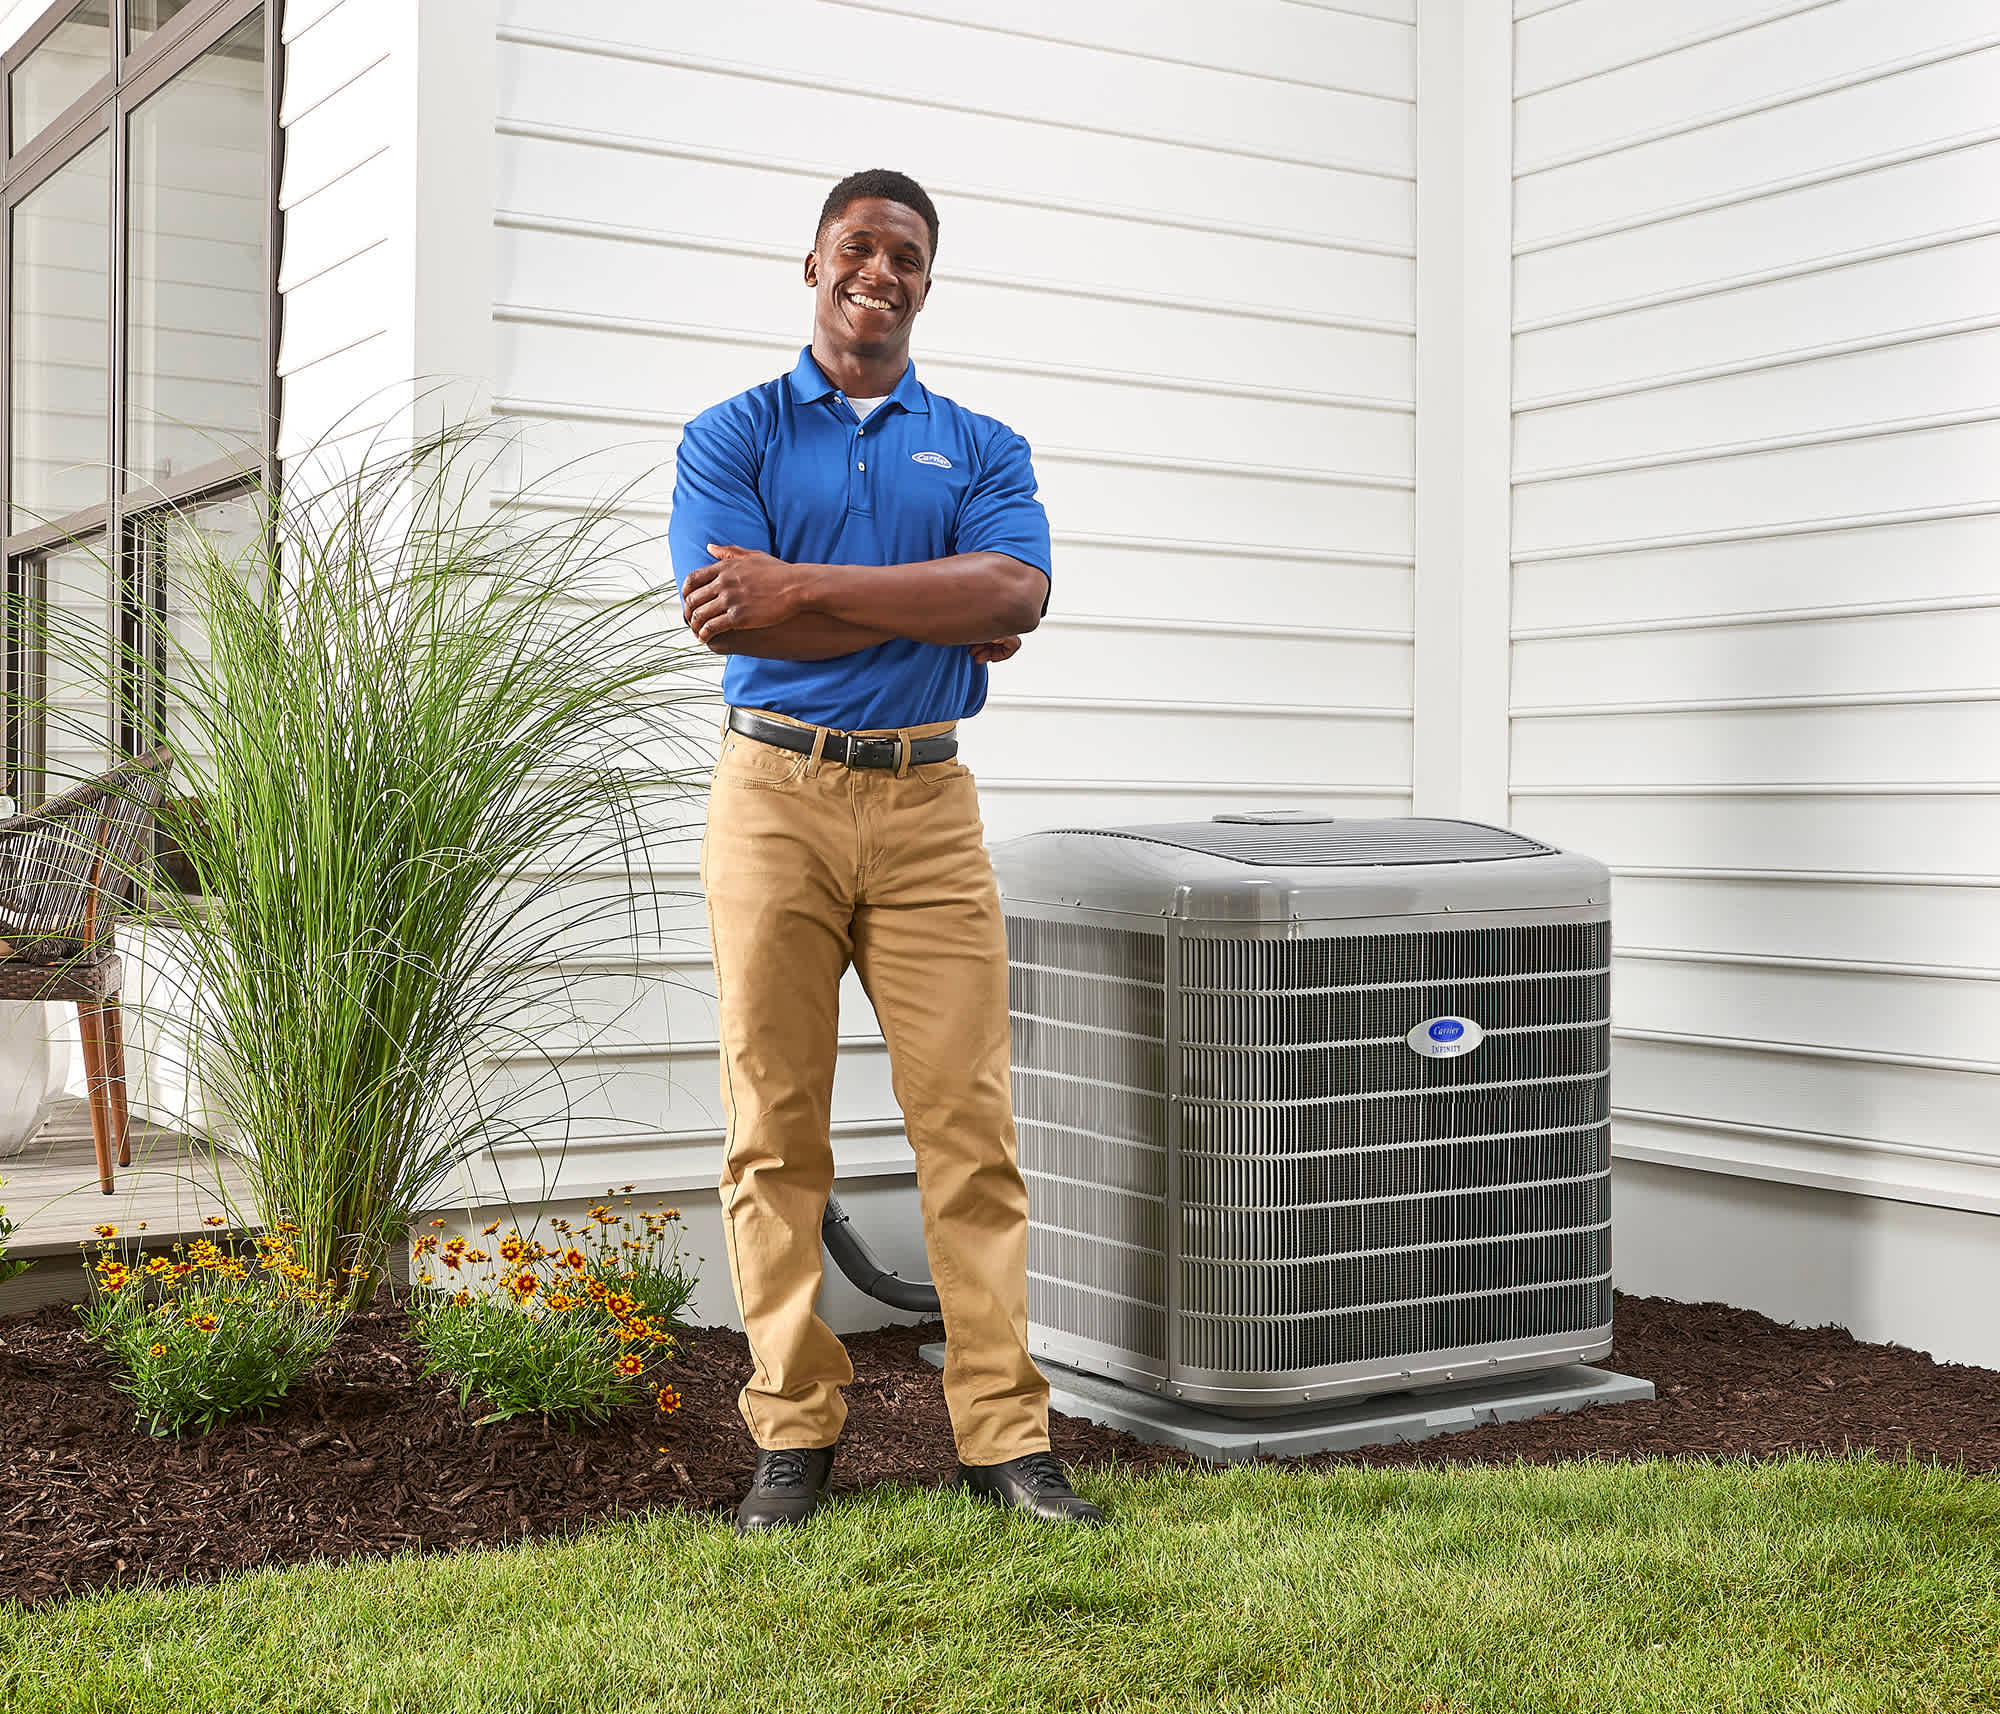
A whole-house humidifier helps add moisture to dry indoor air, improving comfort, supporting better air quality, and protecting wood floors and furniture. Because installation involves connecting to your HVAC system, as well as working with water lines and electrical wiring, it’s a job best handled by a professional Carrier dealer.
Explore Carrier’s full line of humidifiers, and consult a Carrier expert to ensure your humidifier is properly installed and suited to your home.

Humidifier Installation Steps
Installing a whole-house humidifier involves several key steps, and the following guide outlines what a Carrier dealer typically does during the process. Before getting started, it’s important to choose the right type of humidifier for your space to ensure optimal comfort and balanced humidity levels. Learn more by visiting our page on choosing the best humidifier for your home.
Step-by-Step: How a Carrier Dealer Installs a Whole-Home Humidifier
- Turn off the HVAC system and power supply: The technician shuts off power to the HVAC system at the breaker to ensure safety during installation.
- Mark and cut the opening on the supply plenum: A template is used to outline and cut an opening in the supply plenum where the humidifier will be mounted.
- Mount the humidifier unit: The humidifier housing is securely attached to the plenum to ensure a proper fit and seal.
- Install the bypass or fan housing (if applicable): For bypass models, a duct is connected between the supply and return plenums; for fan-powered units, the internal fan is integrated.
- Mount the humidistat control: The humidistat is installed on the return duct or interior wall to monitor and regulate humidity levels.
- Connect the water supply: A saddle valve or tee fitting is installed to connect the humidifier to the home’s cold water line.
- Install the drain line: A drain line is routed from the humidifier to a nearby floor drain to handle excess water safely.
- Wire the humidifier and transformer: Electrical wiring is connected to the HVAC system and transformer to power the humidifier and control signals.
- Check airflow direction and secure bypass duct: The technician verifies airflow direction and ensures all ducts are properly secured and sealed for efficiency.
- Power on and test the system: The system is powered back on, and the humidifier is tested to confirm proper function and desired humidity output.
DIY vs Professional Installation

While DIY projects can be rewarding, professional installation is strongly recommended for whole-home humidifiers. Installing one involves advanced skills in electrical wiring, plumbing, and working directly with your home’s HVAC system—all of which carry risks if done incorrectly. Improper installation could lead to water leaks, system malfunctions, or reduced indoor air quality. Trusting a Carrier expert ensures the job is done safely, efficiently, and according to manufacturer specifications.
Cost of Installing a Whole-House Humidifier
The cost of installing a whole-house humidifier can vary based on the type of humidifier, your home’s existing HVAC system, local labor rates, and any additional modifications needed for plumbing or electrical connections. On average, homeowners can expect to spend between $300 and $1,200, including both the unit and professional installation. For a more detailed breakdown of what factors into the final price, visit our page on whole-house humidifier costs.
Connect With a Carrier Dealer
Choosing the right whole-house humidifier and ensuring it's properly installed starts with expert guidance. A certified Carrier dealer can help you evaluate your home's needs, answer any questions about system compatibility, and recommend the best solution for maintaining ideal indoor humidity levels. Contact a Carrier dealer today to get started.
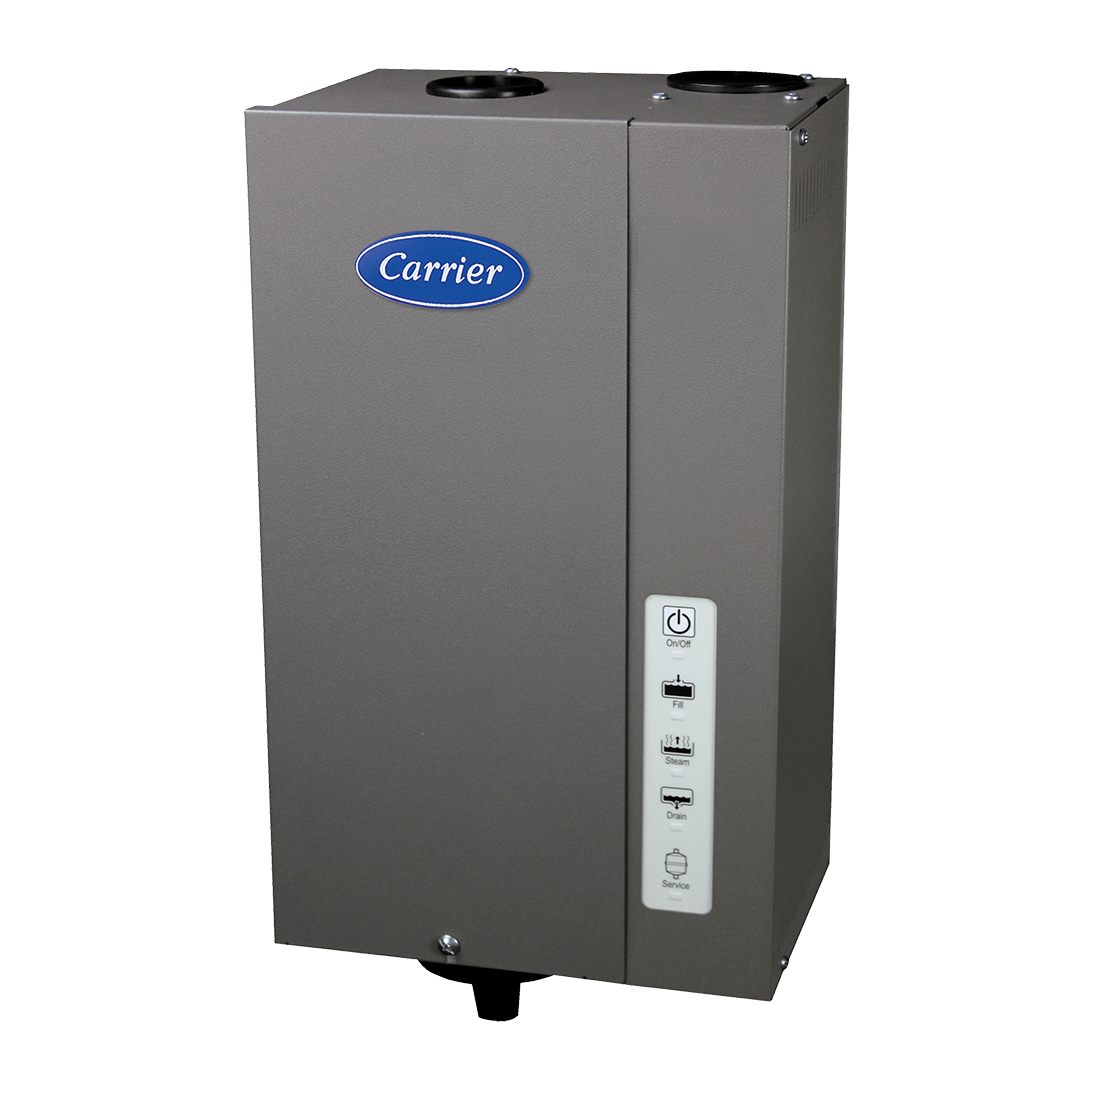
Steam humidifier that can produce up to 34 gallons of water vapor per day.

Fan-powered humidifier that can produce up to 17- 18 gallons of water vapor per day.

Bypass humidifier that can produce up to 17- 18 gallons of water vapor per day.
Frequently Asked Questions About Whole House Humidifier Installation
While it might be tempting to install a whole-house humidifier yourself, it's a complex job best left to an HVAC professional. Proper installation ensures safe operation, system compatibility, and optimal performance.
There are several types of home humidifiers designed to meet different needs, including steam, fan-powered, and bypass models. Each type offers unique benefits depending on your home size and humidity preferences. For a detailed comparison, visit our humidifier types page.
To maintain your home humidifier, replace the filter pad every 1 to 3 months to keep the humidified air clean and efficient. Regularly clean the unit to prevent mold and mineral buildup, using distilled water when possible. At season’s end, drain the system, clean all parts thoroughly, replace the filter, and let everything dry before storing.
Installing a whole-house humidifier can be well worth it for the benefits: improved comfort, healthier indoor air, and protection for wood furniture and flooring It can also help reduce static electricity and ease respiratory issues—making the upfront cost a worthwhile investment for many, especially in dry climates or during winter.