Gas Furnace Installation Guide
Welcome to Carrier’s gas furnace installation guide, designed to help homeowners understand the full process of installing a new system. This page covers the benefits of proper installation, walks you through step-by-step instructions, outlines factors affecting gas furnace installation cost, provides tips for finding reliable gas furnace installation near me, and answers common homeowner questions. Professional installation is crucial for ensuring energy-efficient performance, safe operation, and long-term reliability—schedule your installation with a trusted local expert by using our Find a Dealer tool.
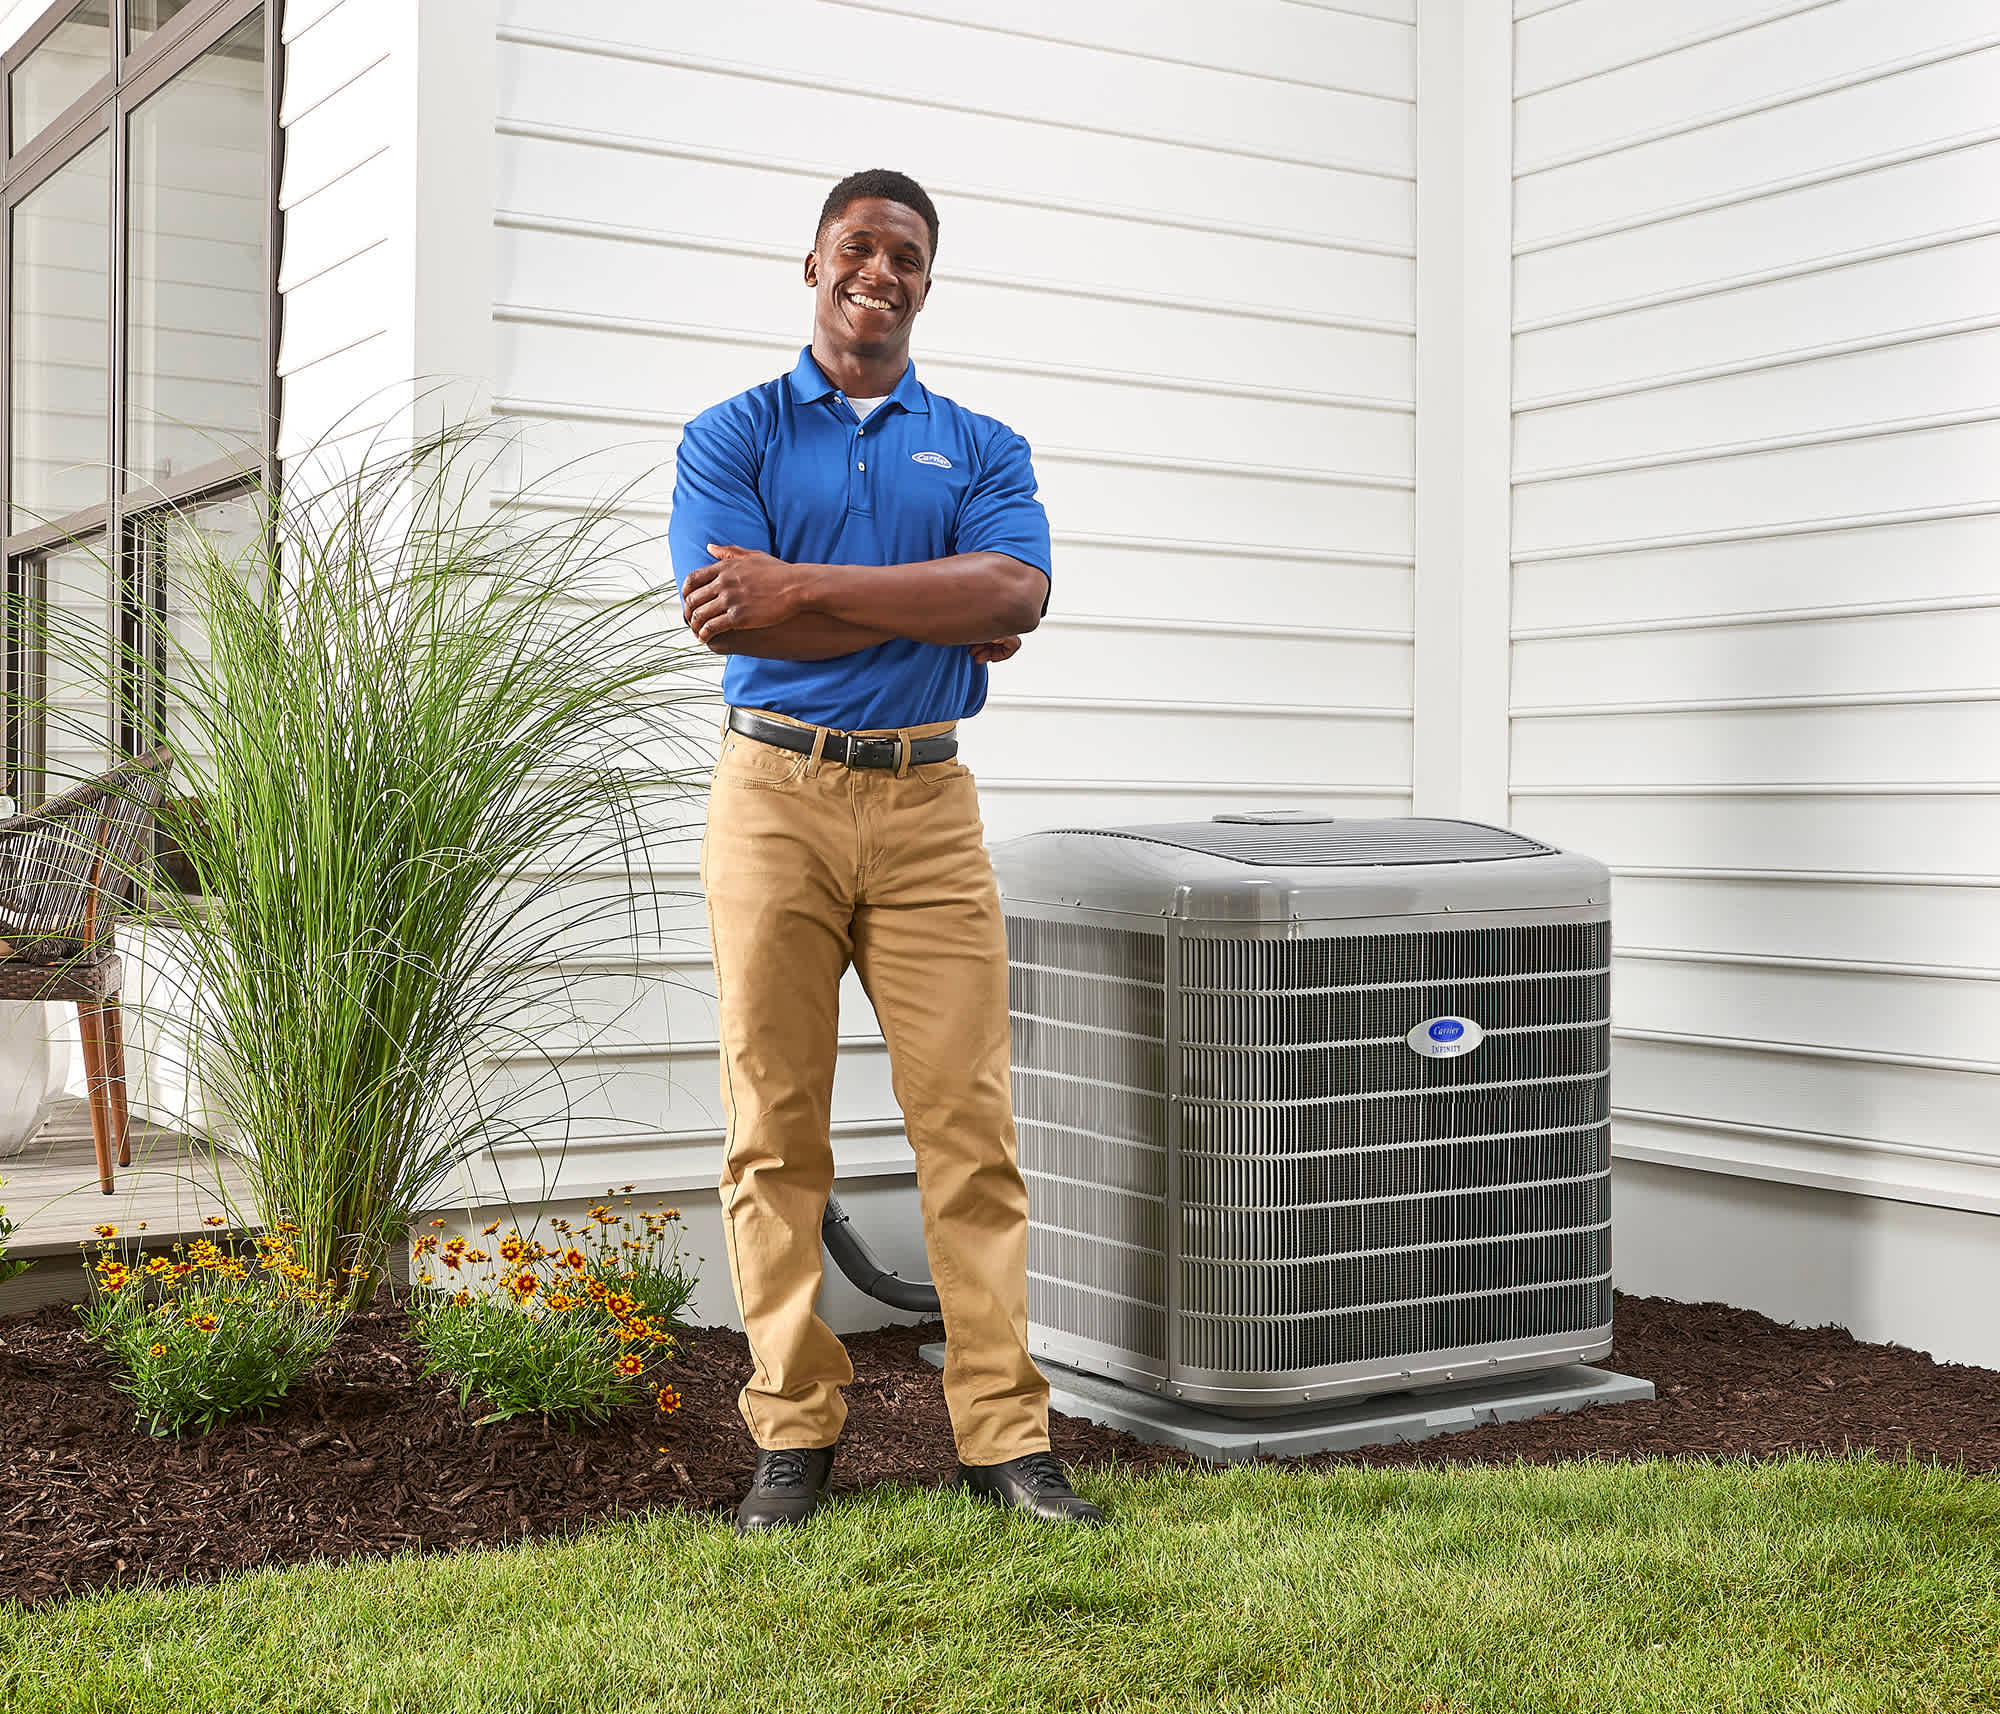
Learn more about our gas furnaces and explore options for different types of furnaces, how a furnace replaced can complement your air conditioning, and why proper installation matters.

Step-by-Step Instructions to Install a Gas Furnace
Installing a gas furnace involves several carefully planned steps to ensure safety, efficiency, and long-term performance. Here’s what homeowners can expect when working with a certified Carrier dealer:
- Initial Consultation and Home Assessment: The dealer evaluates your home’s heating needs, examines ductwork, and reviews existing air conditioning and furnace systems to determine the best solution.
- Selecting the Right Furnace: Based on your home size, energy goals, and preferred types of furnaces, the dealer helps you choose an energy-efficient gas furnace that meets your needs.
- Site Preparation: The installation area is cleared, old equipment is removed if applicable, and any necessary upgrades to electrical, gas, or venting systems are completed.
- Unit Installation: The new furnace is carefully positioned, connected to gas and power lines, and integrated with existing ductwork. Proper alignment and secure installation ensure optimal furnace operation.
- System Testing and Calibration: The technician tests airflow, ignites the burners, and calibrates the thermostat and safety controls. This step ensures the system runs safely and efficiently.
- Final Walkthrough with the Homeowner: The dealer reviews system operation, explains maintenance tips, and answers any questions to ensure you feel confident with your new furnace.
While these steps apply to gas furnace installation, oil furnace installation follows a slightly different process due to differences in fuel type and combustion requirements. Learn more about professional installation on our furnace installation page.
Step 1. Initial Consultation and Home Assessment
During the initial consultation, a certified Carrier dealer evaluates your home’s heating needs to ensure the new furnace is properly sized. This includes performing load calculations to determine the correct furnace size based on your home’s square footage, insulation, and climate conditions. The dealer will also inspect your existing ductwork for leaks, airflow restrictions, or damage that could affect efficiency. Additionally, they review your current HVAC system, including any air conditioning components, to ensure seamless integration. This assessment helps guarantee that the new furnace will provide consistent comfort while operating safely and efficiently.
Step 2. Select the Right Furnace
Choosing the right furnace for your home involves evaluating efficiency, size, and fuel type. Efficiency is measured using AFUE (Annual Fuel Utilization Efficiency), which indicates how much fuel is converted into usable heat—higher ratings mean more energy savings. The correct furnace size ensures your home stays comfortable without overworking the system, which can lead to higher energy costs and wear. Fuel type is another consideration, with options including electric furnaces, propane furnaces, and gas models, each with unique benefits depending on your home and location. Learning about Types of Furnaces and reviewing AFUE (Annual Fuel Utilization Efficiency) ratings can help you select a system that balances comfort, efficiency, and long-term savings.
Step 3. Select the Right Furnace
Before installing a new furnace, the installation site must be carefully prepared to ensure a safe and efficient process. This includes removing the old furnace and any debris, clearing the surrounding space, and verifying that electrical, gas, and venting connections are in good condition. Safety checks are performed to confirm there are no leaks or hazards, and the area is leveled and ready for the new unit. Proper site preparation helps streamline the installation, protects your home, and ensures the new system operates safely from day one. By thoroughly preparing the area, HVAC technicians can focus on installing the furnace correctly and efficiently.
Step 4. Install the Furnace
During the installation of a new furnace, the technician carefully positions the unit in the prepared space, ensuring proper alignment and secure placement. Proper ventilation is confirmed to allow safe exhaust of combustion gases and optimal airflow. Connections to the ductwork, electrical system, and gas line installation are completed according to code and manufacturer specifications. The thermostat is also set up and calibrated to work seamlessly with the new furnace, ensuring accurate temperature control. This step ensures the system operates safely, efficiently, and delivers consistent comfort throughout your home.
Step 5. Install the Gas Line
Installing gas lines for a furnace is a critical step that must be handled with precision and care. The technician ensures the line has the proper capacity and length to safely supply the new furnace while meeting local building codes and safety regulations. Homeowners can expect inspections and leak testing to verify that the connection is secure and that there are no safety hazards. Adequate venting is also checked to ensure safe exhaust of combustion gases. By following strict safety standards and proper installation procedures, the furnace will operate efficiently and reliably.
Step 6. Testing and Thermostat Calibration
Once the furnace is installed, the technician conducts safety tests to ensure the system operates correctly and there are no hazards. The thermostat is then set up and calibrated to work seamlessly with the new furnace, providing accurate temperature control and efficient operation. Performance verification includes checking airflow, burner ignition, and overall functionality to confirm the efficiency furnace delivers optimal comfort. Homeowners can expect the technician to explain system operation and demonstrate how to use the thermostat effectively. Proper testing and calibration help maximize energy efficiency and ensure the furnace runs safely and reliably.
Step 7. Final Walkthrough
During the final walkthrough, the technician inspects all connections, including fuel lines, ductwork, and vents, to identify any potential hazards or signs of issues. They verify that the furnace operates safely, efficiently, and consistently throughout the home. Homeowners are educated on how to use the system, adjust settings, and perform basic maintenance, such as changing air filters. The walkthrough ensures that all safety measures are in place and that the new furnace is functioning correctly before the technician leaves. This step provides peace of mind and reinforces the importance of proper operation and care for long-term reliability.
What is the Difference Between a New Gas Furnace Installation and Replacing an Old One?
Installing a new furnace in a home without an existing system differs from replacing an older unit in several ways. A technician will first determine whether your current furnace can be repaired or if a full replacement is needed—learn more about Furnace Replacement Cost vs Furnace Repair Cost. For homeowners considering an upgrade, a gas furnace replacement involves swapping out an existing unit with a newer, more efficient model.
Below are key differences between the two approaches:
Replacing an Existing Furnace:
- Easier and potentially cheaper – Leveraging the existing space and connections reduces labor and installation costs.
- Leverages existing infrastructure – Existing ductwork, venting, and fuel lines often remain in place, simplifying the process.
- Potential for upgrades – Homeowners can still install a higher-efficiency or energy-efficient furnace ranging in size to meet updated comfort needs.
Installing a New Furnace (where one didn’t exist before):
- More complex and costly – Requires new ductwork, venting, and sometimes electrical or gas line installation, increasing labor and materials.
- Requires more planning and labor – Proper furnace size and location must be carefully determined to optimize comfort and safety.
- Can involve switching fuel types – Homeowners may choose between gas, propane furnace, or electric furnace options depending on availability and energy goals.
- Potential for significant upgrades – A new system can include modern controls, thermostats, and integration with air conditioning for full HVAC efficiency.
Understanding these differences helps homeowners make informed decisions and ensures the installation or replacement process is safe, efficient, and tailored to the home’s needs.
What Affects Gas Furnace Installation Costs?
The average cost to replace a gas furnace varies widely depending on the type and efficiency of the unit. Standard-efficiency models typically cost less to purchase and install, while high-efficiency or energy-efficient models can be significantly more expensive. On average, professional installations—including both the furnace unit and labor—can range from $2,000 to $14,200 or more, depending on the complexity of the job.
Several factors influence furnace installation costs:
- Furnace Size and Efficiency: Larger homes or higher-capacity furnaces, as well as units with higher AFUE ratings, will generally increase both the unit cost and labor required.
- Home Size and Layout: Homes with multiple levels, long duct runs, or unique layouts may require additional planning, ductwork modifications, or equipment to ensure proper airflow.
- Ductwork Condition: Existing ducts in poor condition may need repair or replacement, adding to installation costs.
- Labor Rates: Labor costs vary by region and the experience of the HVAC technicians.
- Additional Features: Extras like humidifiers, air cleaners, or smart thermostats can increase total costs but improve comfort and efficiency.
- Gas Line Installation: Connecting the furnace to the home’s gas supply is unique to gas furnace installation and may add extra costs if upgrades or modifications are required.
For homeowners looking for a more detailed breakdown, learn more about new furnace cost and how different factors can influence your overall investment. Understanding these variables helps ensure your installation is safe, efficient, and tailored to your home’s needs.
Benefits of Professional Gas Furnace Installation
Hiring a licensed HVAC technician for gas furnace installation ensures your system is installed safely, complies with local codes, and operates at peak efficiency. Professional installation protects manufacturer warranties and reduces the risk of costly mistakes, such as improper venting, incorrect gas line connections, or sizing errors. Attempting a DIY installation can create safety hazards and compromise the long-term performance of your system. In the long run, professional installation helps homeowners enjoy consistent comfort, potentially save energy, and gain peace of mind knowing their furnace is running safely and reliably.
| Feature | DIY Installation | Professional Installation |
| Safety Compliance | Often overlooked, higher risk of leaks or hazards | Ensures code compliance, safe gas and electrical connections |
| Efficiency | May reduce system efficiency due to improper setup | Optimized for maximum furnace operation and energy savings |
| Warranty Protection | Could void manufacturer warranty | Maintains warranty coverage |
| Long-Term Performance | Increased chance of breakdowns or repairs | Reliable performance and longevity in the long run |
| Cost Risk | Potentially higher costs from mistakes or rework | Avoids costly errors, protects investment |
Connect with a Carrier Expert for Gas Furnace Installation Near You
Have questions about choosing the right gas furnace for your home? Our certified Carrier dealers can guide you through the installation process and help you select a system that fits your needs and budget. Find a Dealer today to connect with a local Carrier expert and get started on your home comfort upgrade.
Frequently Asked Questions About Gas Furnace Installation
While some homeowners may feel confident tackling DIY projects, installing a gas furnace is not recommended. Improper installation can create serious safety hazards, including gas leaks or carbon monoxide exposure. Professional installation ensures compliance with local codes, proper gas connections, and correct system operation. Additionally, most manufacturer warranties require professional installation—doing it yourself could void coverage and leave you responsible for costly repairs.
The time required for a gas furnace installation varies depending on your home and the complexity of the project. Most installations can be completed in a few hours to a full day. Factors that affect timing include the size of your home, the layout of existing ductwork, and whether an old furnace needs to be removed. Professional installers work efficiently to minimize disruption while ensuring your system is installed safely and correctly.
Preparing your home can help the installation process go smoothly and safely:
- Clear the work area: Remove furniture, boxes, and other obstacles near the furnace and ductwork.
- Ensure access: Make sure installers have clear pathways to your furnace location, basement, or utility room.
- Secure pets: Keep pets in a safe area away from the work site.
- Protect valuables: Move fragile items or valuables out of the installation zone to prevent accidental damage.
Following these steps helps your installers work efficiently and reduces potential hazards during installation.